


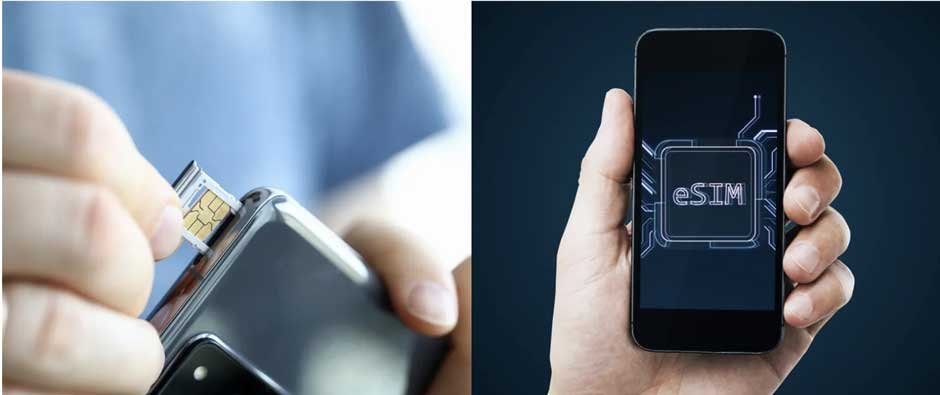
Digital connectivity has transformed international travel. eSIM cards offer incredible flexibility. They remove the need for physical SIM swaps. Yet, a flawless connection abroad demands preparation. If you buy a Global eSIM, you expect it to work. This guide outlines vital checks you must complete. Doing these steps ensures your phone connects instantly upon arrival. This lets you focus fully on your trip.
Getting Your Smartphone Ready for a Digital SIM
The success of your digital service depends on your device. Proper device setup is your first priority. Skipping these checks causes the most common issues.
1. Verify Phone Model and Unlock Status
Does your smartphone support this digital technology? You must confirm the exact model’s compatibility. Most major brand devices released since 2018 are compatible. Crucially, your device must be unlocked by your carrier. A network-locked phone cannot accept the digital profile. This is often the biggest hurdle for travelers. You should contact your home carrier before leaving. Request them to unlock your device fully.
2. Update Your Phone’s Operating System
The embedded SIM functionality relies on updated software. An older operating system can interfere with installation. It might block network access abroad. You need to ensure your phone has the latest software. Update the operating system before downloading any profile. This simple action prevents unexpected software conflicts.
3. Use Stable Internet to Download the Profile
The digital profile must be downloaded to your phone. This process requires a strong, steady internet link. Avoid unstable public Wi-Fi or weak data signals. A poor connection often corrupts the download file. This then leads to activation failure. You should install the profile using reliable Wi-Fi at home. Always complete this step before you depart. Installing your Global eSIM needs perfect signal.
Understanding Your Plan: Coverage and Timing
Before using your new service, review the terms. Know exactly when the plan starts and what it covers. This prevents early expiration or unexpected gaps.
4. Know When Your Plan Actually Activates
Providers often distinguish between two actions. One is installing the digital profile. The other is activating the plan itself. Activation begins the prepaid validity timer. Some plans start the timer right after installation. Others begin only when the phone registers on a foreign network. You must check the provider’s specific rules. Avoid starting your plan days before you need it.
5. Check the True Geographical Coverage
The phrase “Global eSIM” indicates wide coverage. You still must verify specific countries on your itinerary. Some areas might have weaker service or exclusions. Check the specific list of covered nations. Look at the local network operators the provider partners with. This detail ensures you have strong service everywhere. A reliable esim for travel service, such as eSIMfo, serves over 202+ countries worldwide. Such comprehensive service simplifies complex, multi-region journeys.
6. Clarify Data Limits, Speed, and Usage Policies
Review the amount of data you purchased. Does it cover your needs for the whole trip? Check if the provider reduces your speed after a certain usage limit. This speed reduction is called throttling. Also, confirm if you can share the connection. That means checking if personal hotspot (tethering) is allowed. These specifics ensure the buy esim plan is right for your consumption. You must check these limits before purchase.
Essential Phone Settings for Dual-SIM Use
Using a digital SIM alongside your home SIM requires configuration. Correct settings prevent accidental charges. They also guarantee successful connectivity.
7. Turn Off Data Roaming on Your Home SIM
This is the most important financial safeguard. Your primary physical SIM stays in the phone. If data roaming is enabled on it, charges can be huge. The phone might default to using your home carrier for data. You must go to your phone’s cellular settings. Switch OFF Data Roaming for your physical SIM card. This eliminates the risk of a massive phone bill later. This step prevents all bill surprises.
8. Select the New Profile for Mobile Data
Your phone needs clear instructions on which line to use for internet. After installation, go to the Mobile Data settings. Designate the newly installed international e sim profile. You should label the new profile clearly. This prevents confusion with your home number. Keep your home physical SIM active only for calls and texts. This setup utilizes your prepaid data plan.
9. Manually Input or Check the APN Setting
The Access Point Name (APN) directs your data traffic. It is essential for accessing the internet. Your best esim for international travel provider supplies the required APN. Most phones set this automatically. If you have any connection problems, check it manually. Enter the APN exactly as provided by the service. This fixes many common “no data” issues.
10. Enable Data Roaming for Your Travel eSIM
This may sound confusing after step seven. However, the travel profile needs roaming enabled to connect. It allows the esim data to access foreign partner networks. You must check that the Data Roaming switch is ON. This switch applies specifically to the new digital profile. This is necessary for the prepaid data to work abroad.
Troubleshooting and Confidence Building
Sometimes things go wrong despite careful checks. Being prepared for glitches is part of smart travel. Have a simple backup plan ready.
11. Save All Activation Credentials Securely
Keep a copy of your QR code or manual installation code. Take a screenshot of the details. Save it in a location outside your email app. If your email is inaccessible, you still have the information. This backup prevents having to buy a new Global eSIM service.
12. Know How to Contact Support Quickly
Locate the provider’s support channels before your trip. Do they offer a 24/7 chat service? Do they have a dedicated email address for issues? Write this contact information down. Saving the support details ensures help is available if needed. This demonstrates provider reliability and trust.
13. Be Ready to Manually Choose a Network
Your device normally selects the strongest network automatically. This automatic selection sometimes fails in new countries. If your Global eSIM profile shows “No Service,” try manual selection. Go to the network settings area. Turn off the automatic network feature. A list of local carriers will appear. Select a partner network listed by your provider.
Final Thoughts
Activating a Global eSIM is simple with the right preparation. You have ensured your device is ready. You have understood the plan’s rules. You have configured your phone’s settings correctly. This expert-driven checklist guarantees a smooth start.
Choosing a reliable provider that offers simple steps and extensive service makes the process easier. eSIMfo is one example of a company simplifying this digital journey for travelers. They offer a “zero plastic, zero shipping” model. You can now step off the plane already connected. This eliminates all the worry about international data. Enjoy your journey with confidence and seamless connectivity.