


I love adding zing to my meals with pickled onions. They’re fantastic on almost any Mexican dish! Especially when I make tacos at home, my daughter always asks, “Mom, where are the pink onions?” These red onions pickled just right make everything taste better.
Honestly, these pickled red onions are one of my favorite things to keep in the fridge. They’re easy to make, full of flavor, and add a pop of color and crunch to anything. Once you start making them, I promise-they’ll live in your fridge too.
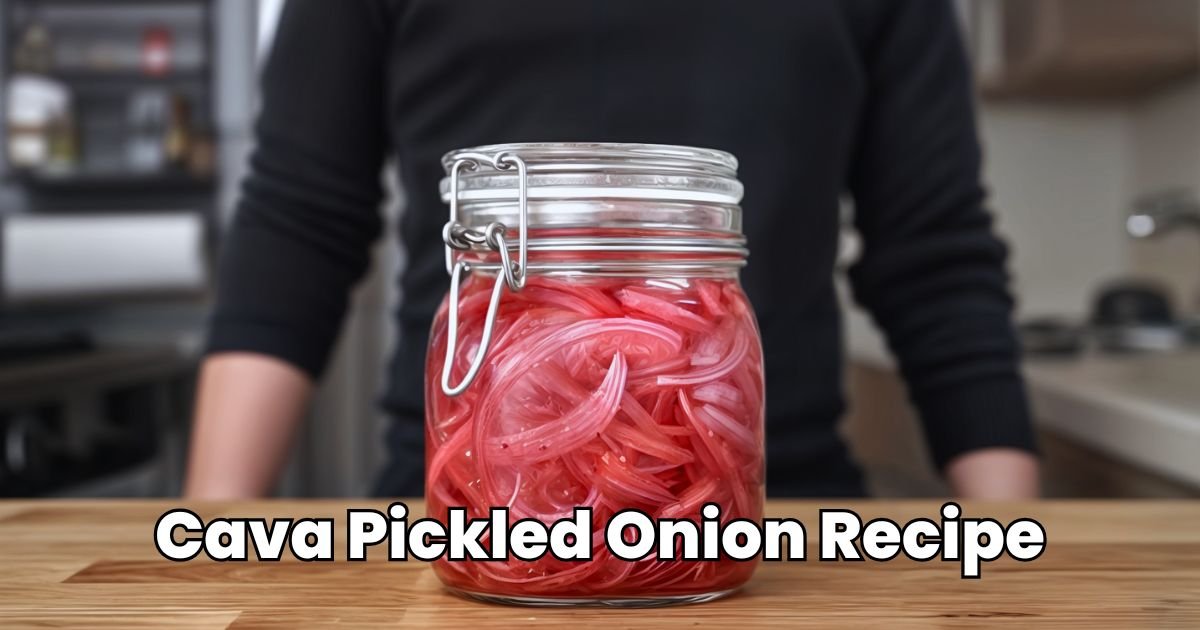
Today I’m sharing my copycat version of the Cava Pickled Onions Recipe. Cava is one of my go-to spots because they serve fresh, bold, Mexican-inspired food.
Their pickled onions hit just right-sweet, tangy, and a tiny bit spicy. So I had to figure out how to bring that flavor home. If you like what Cava serves, you’ll love this version.

What Do Cava Pickled Onions Taste Like?
I love popping open a jar of these onions because the smell alone makes me hungry.
They’re tangy, like a little sour punch, but then a bit of sweetness comes in to smooth things out. The crunch is my favorite part-it’s fresh and snappy.
You’ll notice the red onions aren’t too strong; they’ve got a gentle bite that’s perfect. I add them to tacos all the time, and you can taste how they brighten everything up.
They’re not spicy unless I toss in some pepper flakes, which gives a tiny kick. You’re gonna love how they mix with your food-it’s like they were made for it!
Cava Pickled Onions Ingredients
Here’s everything you need to make that signature Cava flavor at home.
- Red Onion (1 large): Red onions are perfect because they’re mild and turn a gorgeous pink when pickled. Slice them super thin-about 1/8-inch-for the best crunch. You can use yellow onions, but red ones look and taste better here.
- Apple Cider Vinegar (1/2 cup): This vinegar adds a fruity, tangy flavor that’s not too harsh. It helps soften the onions and gives them that zesty kick.
- White Vinegar (1/2 cup): White vinegar is sharp and clean, balancing the apple cider vinegar. Together, they create the perfect tangy brine.
- Water (1 cup): Water dilutes the vinegar so it’s not too strong. It helps the flavors blend and keeps the onions crisp.
- Granulated Sugar (1 tablespoon): Sugar adds a touch of sweetness to balance the vinegar’s tang.
- Kosher Salt (1 tablespoon): Salt brings out the flavors and helps preserve the onions. I use kosher salt because it dissolves easily.
- Black Peppercorns (1 teaspoon, optional): These add a subtle spicy note. I toss them in for extra flavor, but you can skip them if you want a simpler taste.
- Red Pepper Flakes (1/4 teaspoon, optional): For a tiny bit of heat, red pepper flakes are great.
Ingredient Substitutions
Sometimes, you don’t have everything in the kitchen. That’s okay! Here are some swaps that work just as well:
- Different Onions: If you don’t have red onions, yellow onions work fine. White onions are okay too, but they’re a bit stronger in flavor. Sweet onions like Vidalia are too mild for this recipe.
- Vinegar Changes: You can use all apple cider vinegar if that’s what you have. Rice vinegar works too and gives a milder taste. Avoid using balsamic vinegar because it will make the color weird.
- Sugar Options: Brown sugar works instead of white sugar and adds a deeper flavor. Honey is good too, but use a little less because it’s sweeter.
- Salt Types: Regular table salt is fine if you don’t have kosher salt. Just use a little less because table salt is saltier.
- Spice Swaps: Try whole mustard seeds instead of peppercorns. Bay leaves add a nice flavor too. Skip the red pepper flakes if you don’t like any heat.
Kitchen Equipment Needed
- Sharp Knife or Mandoline: For slicing onions thinly. A mandoline makes it faster, but a knife works fine.
- Cutting Board: To chop the onions safely.
- Small Saucepan: To heat the water and mix the brine.
- Measuring Cups and Spoons: To get the right amounts of vinegar, water, sugar, and salt.
- 1-Pint Mason Jar or Glass Container: To store the onions. Glass is best because it doesn’t hold odors.
- Spoon or Fork: To press the onions into the brine.
- Stove: To warm the water for the brine.
How To Make Cava Pickled Onions
Step 1 | Slice the Onions
Peel the red onion and cut it in half from root to stem. Then, slice it into thin half-moons, about 1/8-inch thick. I use a sharp knife, but a mandoline works great for even slices. Put the slices into a 1-pint mason jar or a glass container with a tight lid.

Step 2 | Warm the Water
Pour 1 cup of water into a small saucepan and place it on the stove over medium heat. Warm it up until it feels like hot bath water, but do not let it boil. Turn off the heat and let it sit for a minute.

Step 3 | Make the Brine
Add 1/2 cup apple cider vinegar, 1/2 cup white vinegar, 1 tablespoon sugar, 1 tablespoon kosher salt, 1 teaspoon black peppercorns (if using), and 1/4 teaspoon red pepper flakes (if using) into the warm water. Stir well until the sugar and salt are completely dissolved. This only takes about a minute.

Step 4 | Pour Over Onions
Carefully pour the warm brine over the sliced onions in the jar. Use a clean spoon or fork to press the onions down so they are covered by the liquid. It’s okay if a few slices float at the top-they will sink as they pickle.

Step 5 | Cool and Refrigerate
Let the jar sit uncovered at room temperature for about 30 minutes to cool. After that, close the lid tightly and put the jar in the fridge. The onions are ready to eat after 30 minutes, but they taste even better if you let them sit for a few hours or overnight.

Step 6 | Check the Flavor
After a few hours, taste the onions. They should be tangy, a little sweet, and still crunchy. If you want a stronger flavor, leave them in the fridge a little longer.

Step 7 | Serve and Enjoy
Once the onions are cold and bright, they are ready to serve. Use a clean fork to take some out. Add them to your favorite bowls, wraps, sandwiches, or tacos. Enjoy every bite!

Chef Notes + Tips
- Always use clean utensils when taking onions out of the jar to keep them fresh longer. Don’t double-dip or use dirty spoons.
- The onions will shrink a bit as they pickle, so don’t worry if the jar looks too full at first.
- Taste the brine before pouring it over the onions. It should taste like really good salad dressing-tangy but not too sour.
- If your onions aren’t turning pink, make sure you’re using red onions and that your vinegar is fresh.
- Save the leftover brine after you eat all the onions. You can use it to pickle more onions or add it to salad dressings.
- Keep the jar closed tight when not using to maintain freshness and prevent your fridge from smelling like onions.
Way To Use Cava Pickled Onions
These onions are kitchen superheroes! I toss them on everything:
- Tacos/Burritos: They cut through heavy beef or beans. My kids adore them on fish tacos.
- Salads/Grain bowls: A handful adds color and zing to quinoa or greens.
- Sandwiches/Wraps: Swap pickles for these on turkey clubs or veggie wraps.
- Grilled meats: Top chicken or pork chops for a bright finish.
- Avocado toast: My breakfast secret-adds punch to creamy avocado!
Storing Cava Pickled Onions
These pickled onions last for about 2-3 weeks in the fridge when stored properly. Keep them in the same jar you made them in, or move them to another glass container with a tight lid.
Always make sure the onions stay covered by the liquid – this keeps them fresh and prevents them from going bad.
The flavor actually gets better after a few days in the fridge, so don’t feel like you have to use them right away. I usually make a new batch every two weeks.
You don’t need to freeze these because they keep so well in the fridge, and freezing would make them mushy when you thaw them out.
If the liquid gets cloudy or the onions smell off, throw them away and make a fresh batch.
Cava Pickled Onions Recipe FAQs
1. How long until they’re ready to eat?
You can eat them after 30 minutes, but patience pays off! Wait 4 hours for softer texture and richer flavor. Overnight is best-the vinegar soaks deep, turning onions bright pink and mellowing their bite. If you’re meal-prepping, make them a day ahead.
2. Why did my onions turn soft?
Likely from over-heating the brine. Always warm water gently-never boil! Also, pack onions tightly so brine covers them fully. If they’re exposed to air, they’ll wilt.
3. Can I reuse the pickling liquid?
You can reuse it once, but only if you keep everything clean. Don’t add new onions into old brine that’s been sitting out. Boil the brine again before reusing it to keep it safe.
4. Can I make these without sugar?
Yes, you can skip the sugar or use honey or maple syrup instead. Just know it changes the flavor a bit. The onions might taste more sour, but still tasty.
5. Why are my pickled onions cloudy?
Sometimes the brine gets cloudy if it’s old or if something wasn’t clean. It can also happen from certain spices. If they smell okay, they’re probably still fine-but when in doubt, throw them out.
This Cava Pickled Onions Recipe is one of my kitchen go-to’s. It’s easy, quick, and makes any meal better. You’ll love how simple it is to make at home, and I promise-once you try it, you’ll keep a jar in your fridge just like I do.
Did you make this recipe? Please leave a ⭐ rating and review!